Let’s talk binding! I’m pretty excited about this topic because there are so many different binding styles that can be used in many different ways for different designs. I’m actually working on an editorial project at the moment and I have my binding method picked out based on some of my research, and I hope my research helps you pick out your next binding style! In this blog, I will discuss what each type of binding is typically used for and how the binding is made. However, don’t be afraid to break some binding rules. For example, editorials are normally bound with the saddle-stitch method, but I’m choosing to bind mine with metal wire because I think it fits my concept better than saddle-stitch. It’s an important decision to make that creates an experience for your users that they won’t forget. So choose your binding wisely!
Saddle-Stitch: As I mentioned earlier, saddle-stitch is very common in magazines/editorials. This is because it is very affordable and magazines are printed in large quantities. It also makes the materials bound comfortable to hold. If you’re having a hard time picturing what this looks like, think of a document that is stapled. It looks similar to that, but it is just constructed differently. The process is done by punching a wire into the outer spine, and folding it into the center fold to hold all of the pages together. I think this method works really well if you are trying to create a document that is comfortable for users to sit down and flip through with ease.

Also, notice how in the picture there is separation at the centerfold inside. The pages don’t lay flat together because of the wire at the centerfold.
Stab-Stitch or Side-Stitch: So, I did not really know what the stab-stitch method was until I did my research and now I realllllllyyyyyyy need a project to use it for. It looks so organic and definitely gives your document and hand-made feel. I feel like it would work really well for a journal or another document that a user would write on. Maybe even a sketchbook! Anyways, the method is to stab a wire (or in the example I will show it’s done with string!) through the actual cover and through the inside pages. Often times, it’s covered to hide the wire but it’s an interesting look if you choose not to cover it, in my opinion. Just remember that when you are creating your document that you make your inner margin large because part of it will be covered due to this method.

Seriously, how cool does that look? Imagine doing this with your portfolio!
Perfect-Bound: I think that perfect-bound is a very formal and well-put-together look. But I also think it sort of has a cozy feeling that comes with reading a chapter-book. It can also be used in all different documents and solves the problem of the gap at the centerfold of your book if that is something you want to avoid. To achieve this, sections of pages are folded and glued to the inside of a wrap-around cover.

Screw-bound: Sounds crazy, right? That’s because it is. Basically, holes are drilled through the cover and inner pages of the document and a screw is placed in the holes to hold it together. This method is often used in swatch books because it is extremely durable, but I personally think it would be awesome to use for a book about architecture or construction.

Plastic-Grip: This method is very simple. The binding is a 3-sided plastic spine with an opening on one side. The cover and inner pages are inserted into the open side and the plastic grip holds everything together. This is a very easy and affordable binding method, and I think it would be good for documents that are provided for a class or school. Maybe even a document used in a science lab?

Spiral or Coil-bound: You are probably already familiar with this binding method, as it’s often used in notebooks. Holes are punched into the document and wire is threaded through the holes. The wire is crimped on the ends so that the document does not fall apart. I like this method because it allows the pages to lay completely flat or even be flipped around completely. I think that it creates an experience that gives a user more control, because they can choose how they want to lay the pages.

Loop-Stitch: This method is pretty similar to the saddle-stitch method. It’s achieved with the same process, however loops are created on with the wire on the external spine so that the document can be held by the rings of a binder. I think this is another good method for a document that would be used in a class, but it could also work really well for a company document. Maybe you create a binder full of different types of company information, and each document is loop-stitched? That could be an interesting experience.

Sewn-bound: This is another method that is similar to saddle-stitch. The method is almost exactly the same, however it is done with thread that is stitched along the spine. I also really like this method and I think that it would create an interesting style for a magazine.

Tape-Bound: This is an interesting but somewhat complicated process. I say this because the internal pages of a document often have to be stitched together before you can use this method. But once you stitch the pages together an adhesive tape is wrapped around the covers and the spine of the document. I can’t think of anything in particular that I would use this for but I bet that you can get different colors of tape, or maybe different even tapes with different patterns that would create an eye-catching document!

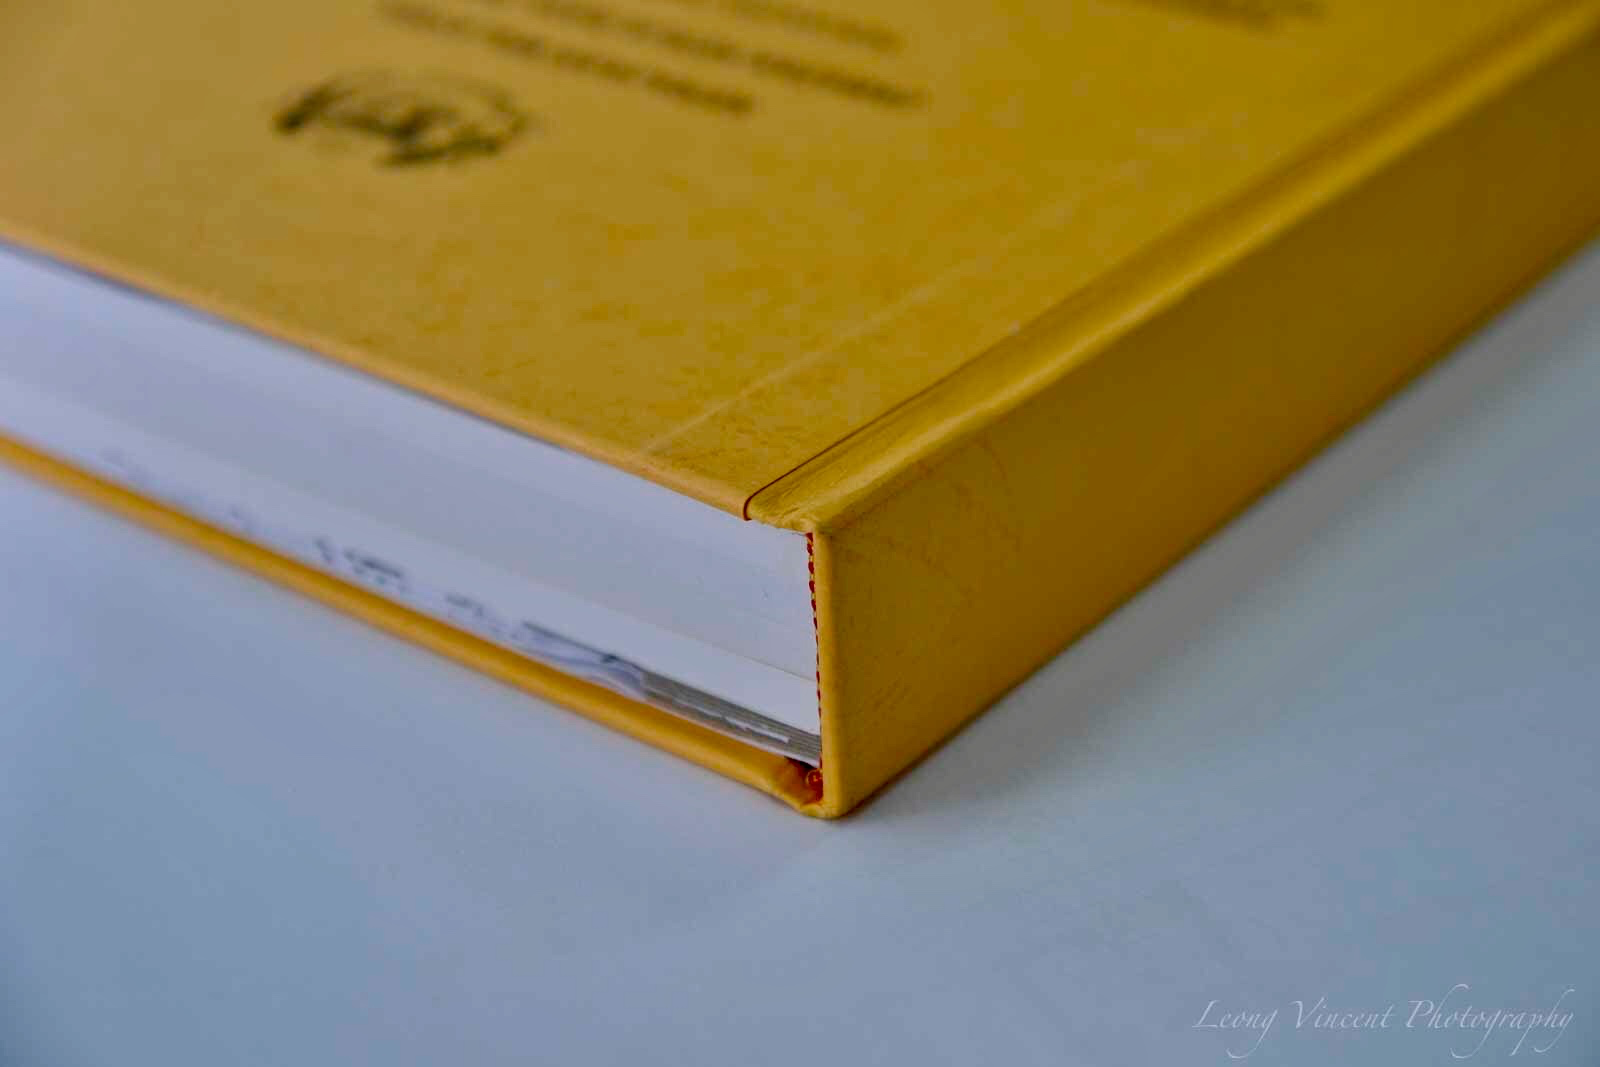
Hard-cover or Case-bound: I’m sure you know what hard-cover binding is and can definitely recognize it. But have you thought of ever using it for one of your documents? If so, just keep in mind that it is a very pricey method. Pages are sewn together in sections, then glued to an end paper which is glued to the hard-cover’s spine. So, it’s a complicated process which means you are paying for labor and the extra materials needed and also the hard-cover itself. In my opinion, that sort of justifies the expense. Hard-covers are mostly found in novels in textbooks, and there all different kinds of hardcover. Honestly, who doesn’t enjoy having a hard-cover book? It just makes a document feel like an important artifact.
Comb or Plastic-Bound: This method is similar to spiral-bound. You can lay a book flat when opened if you use this method, and it’s ideal for manuals. My statistics professor actually used this method for our course packs and it was a really nice touch and it made the packs more durable than they would be if they were just stapled. It was probably easy for him because this method is affordable and quick! This method is achieved by punching rectangular holes through the document and threading a plastic comb through the holes.

Wire-O or Wire-bound: This is a very popular binding method! Formed wire is threaded through holes that are punched into a document. This allows the pages of a book to lay flat when opened, just like the spiral or comb methods. Once again, I like this because I feel like it gives a user more control. I also really like this method because you can get the wire in many different colors to fit the style of your document. It’s also a relatively durable method.

As you can probably tell, I could go on and on about binding methods. I’ll end my blog here though, so hopefully you have enough information to make a wise decision on your next binding choice! Definitely don’t overlook this, as binding has a huge part in the experience you create for your users. And don’t forget that it’s okay to break the typical rules of binding if it means that you’re creating an unforgettable experience!
